
 The Ball Clock was built on a .125 flat brass plate. The walnut base was part of the glass dome I got when I started this project. I purposely put off mounting the base plate to the walnut base to allow me access to the bottom of the brass base if needed.
Over the length of the project this turned out the be a good thing.
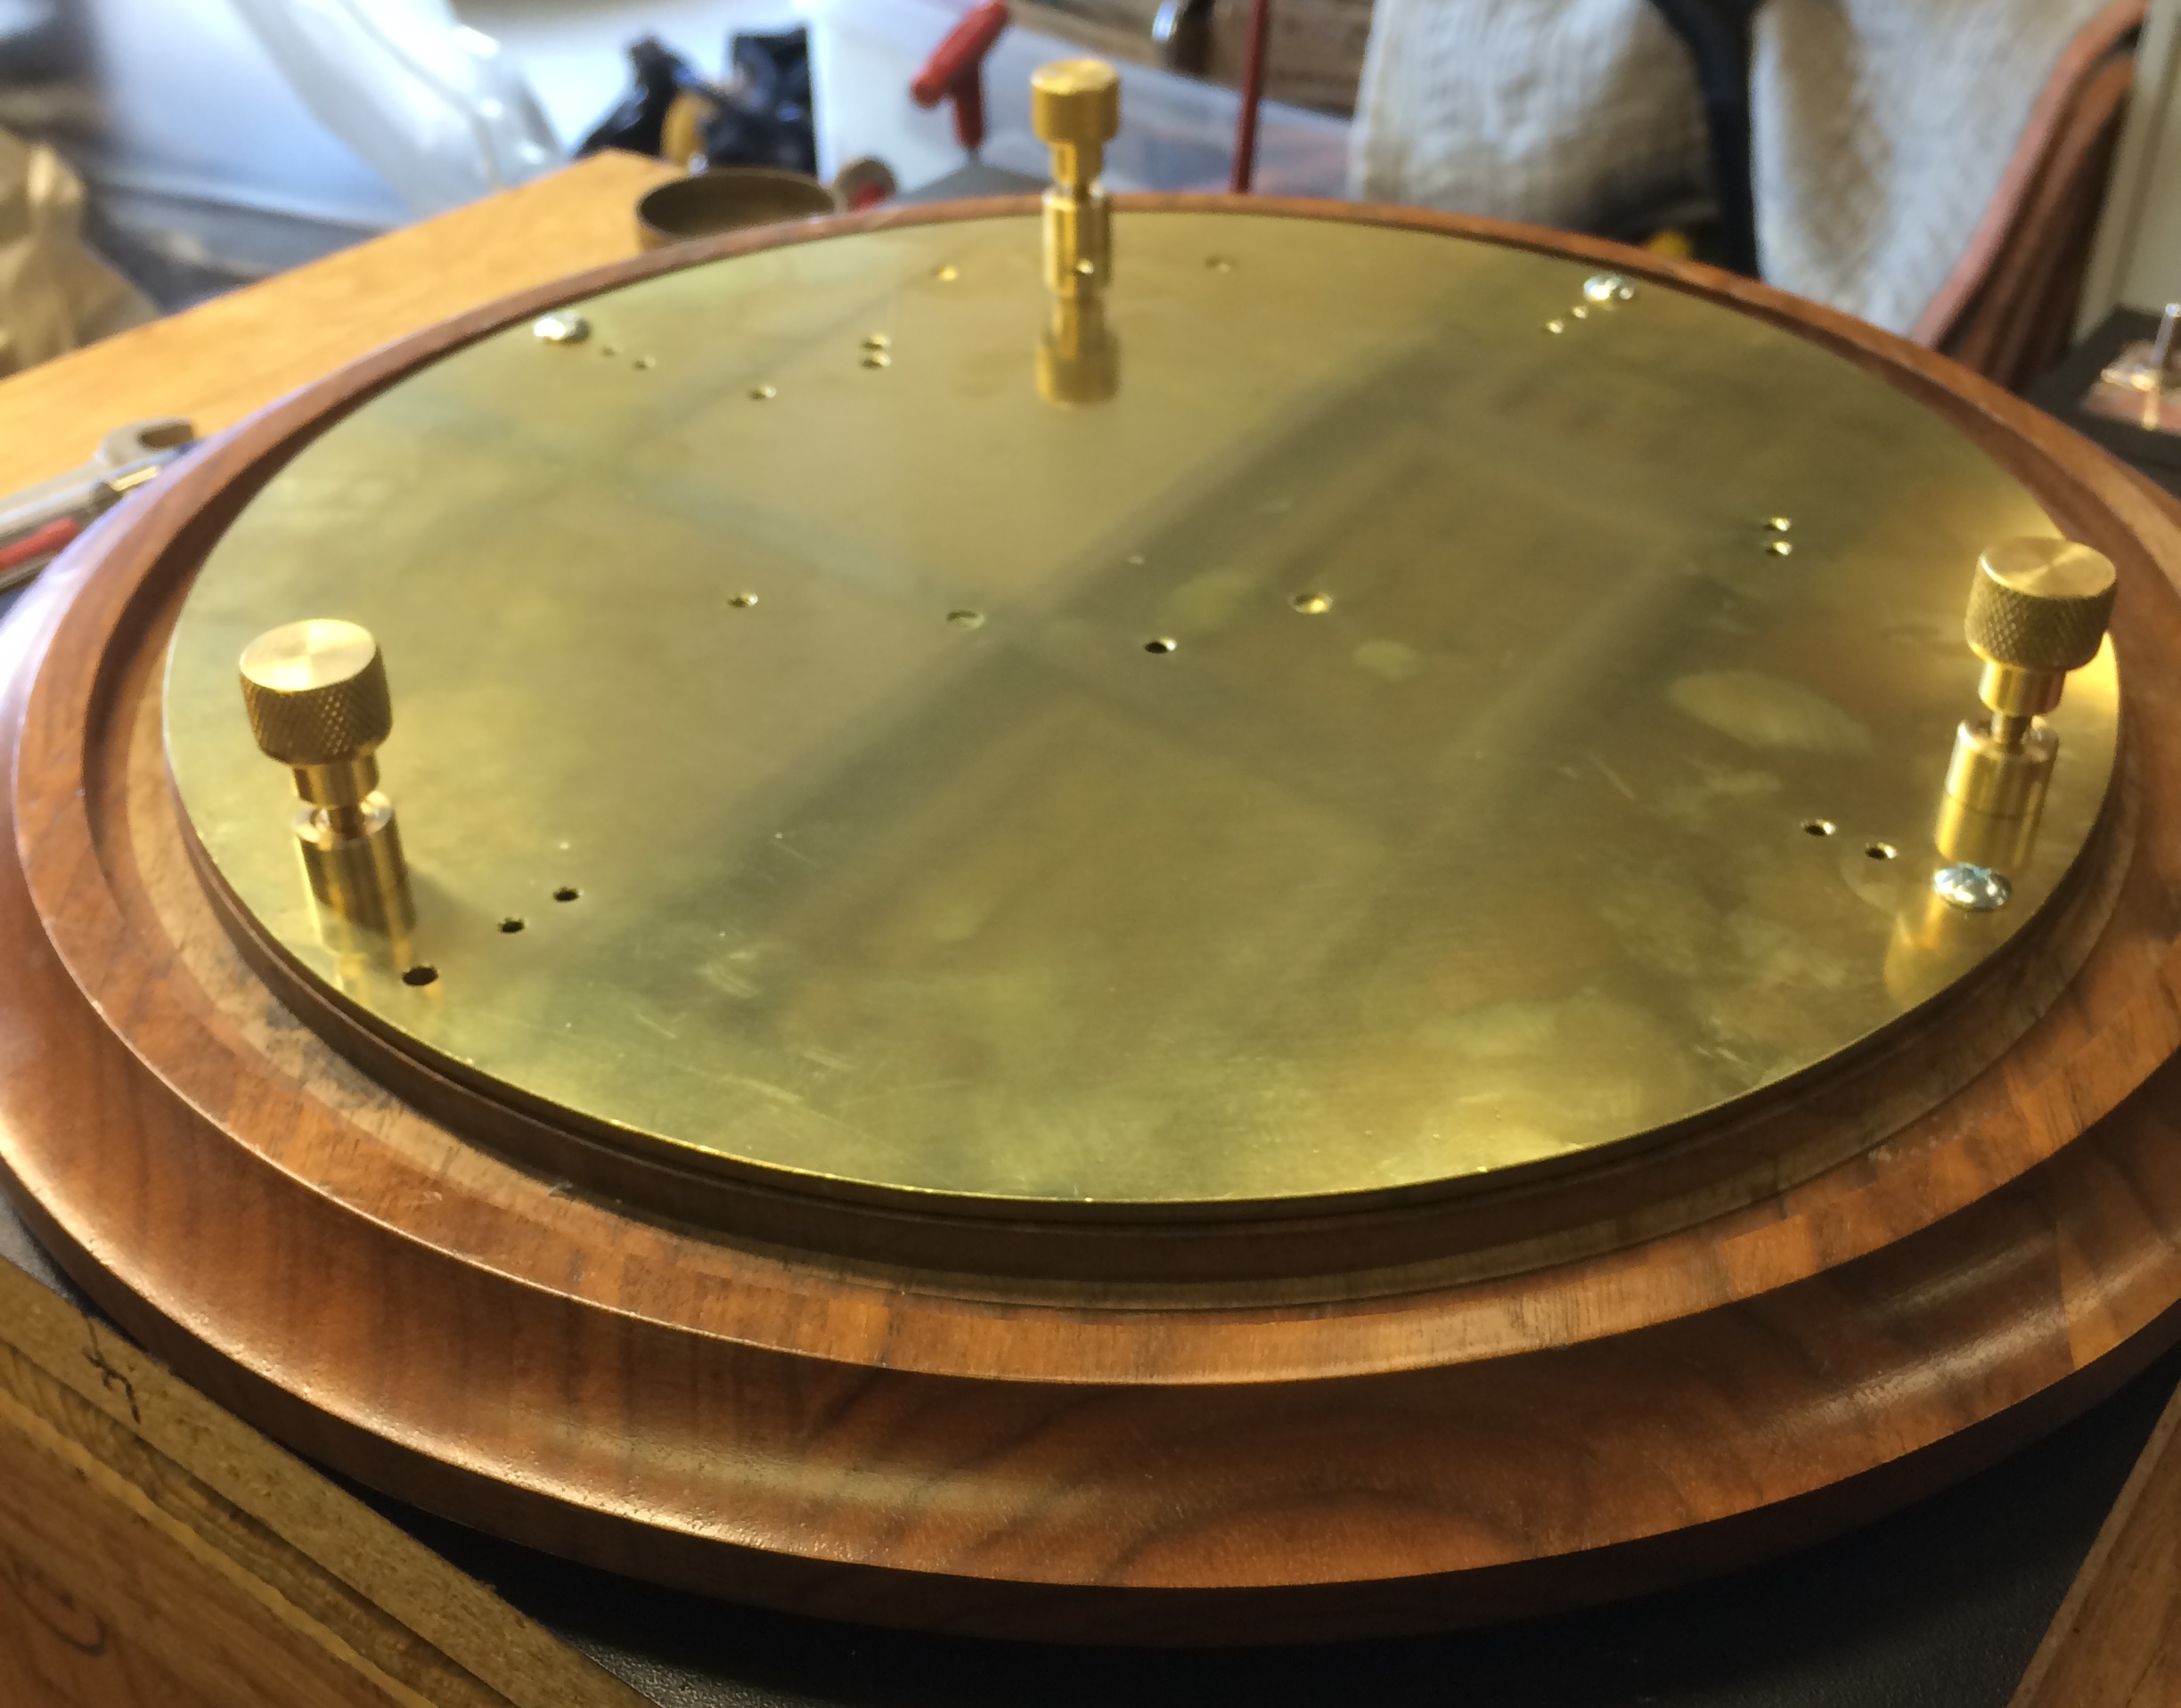
Now that everything is completed it is time to mount the clock to the wood base. Because the drop on the track is minimum, it is very important that the clock be level. I mounted a sensitive bubble level on the front of the base.
The easiest way to level something like this is with three points of contact. This is like anniversary clocks that use three points of contact. Four points are problematic to level.
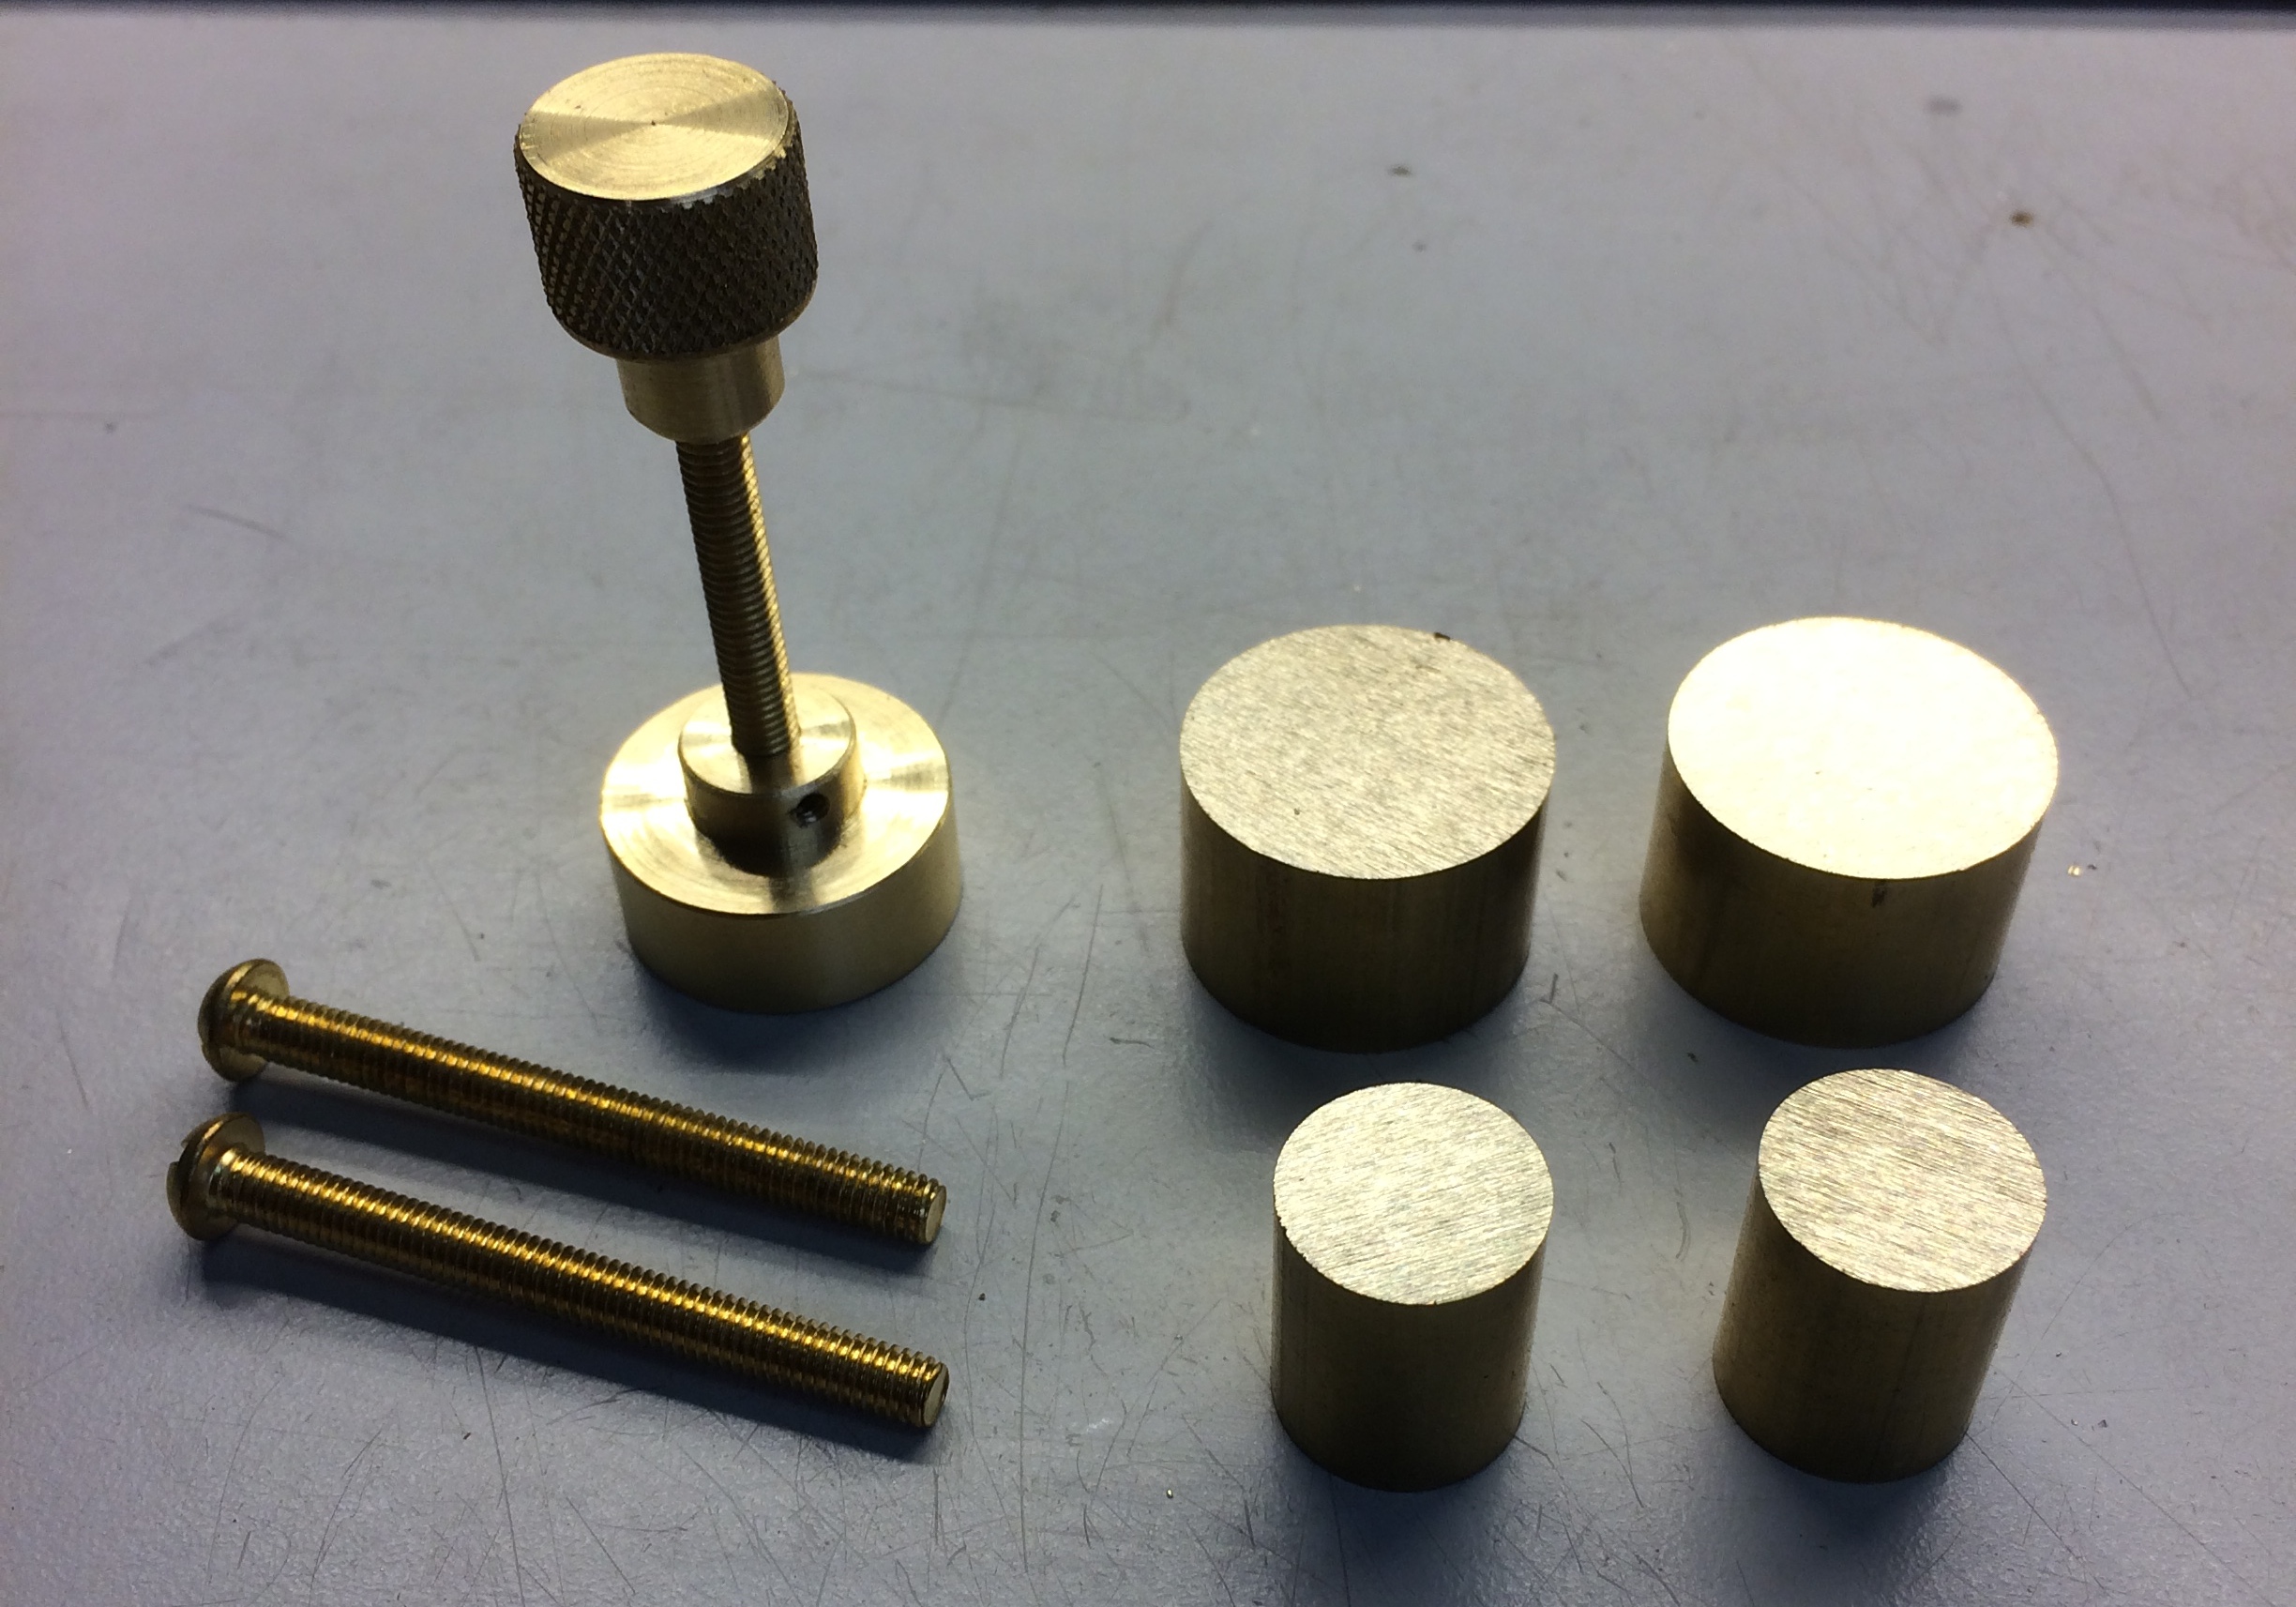
I made three adjustable feet with knurled knobs for that adjustment. Cutting threads with a lathe is an art and not within my current abilities. I have the tools, just not the talent. I used brass 10-32 machine screws for the shafts of the levelers. The feet were turned from 1″ brass rod. Felt pads were put on the bottom of the feet to protect supporting surfaces.
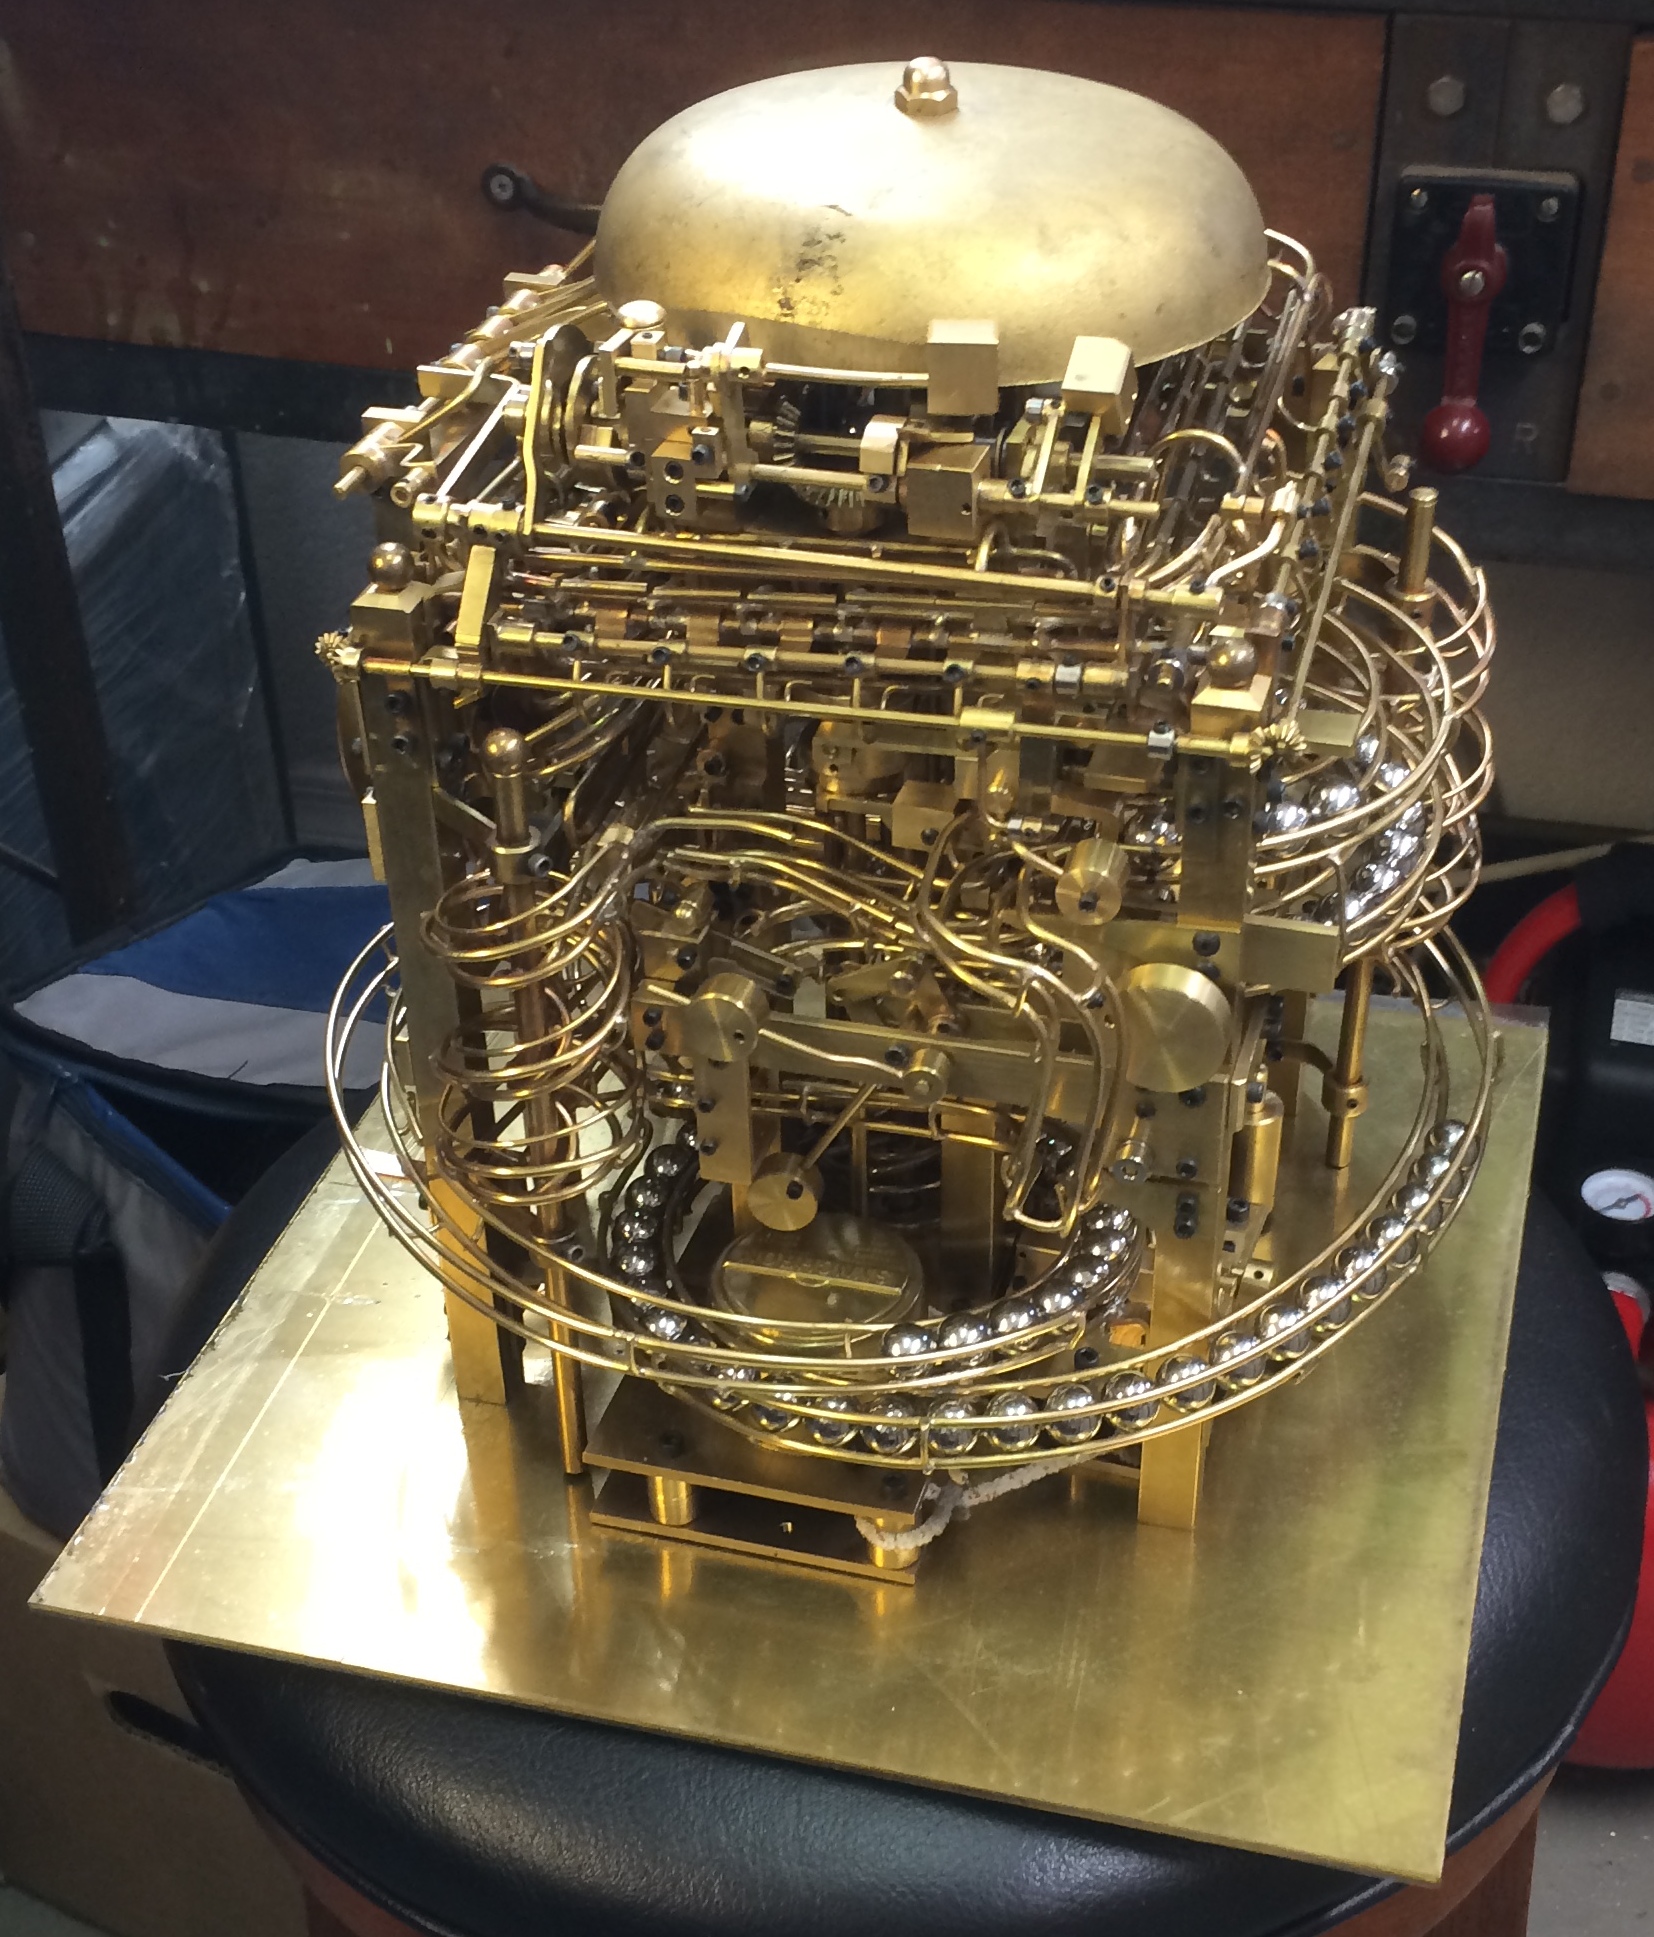
The first thing and the scariest I must admit was separating the clock mechanism from the brass base without throwing off the adjustments. Once off, it was set it aside on another plate.
Because the clock runs on an asynchronous motor with 120 vac it was necessary to route the power cord under the base and still be able to disconnect it if needed. This was done using a Euro Connector by the motor. It has small screw connections which kept things clean.
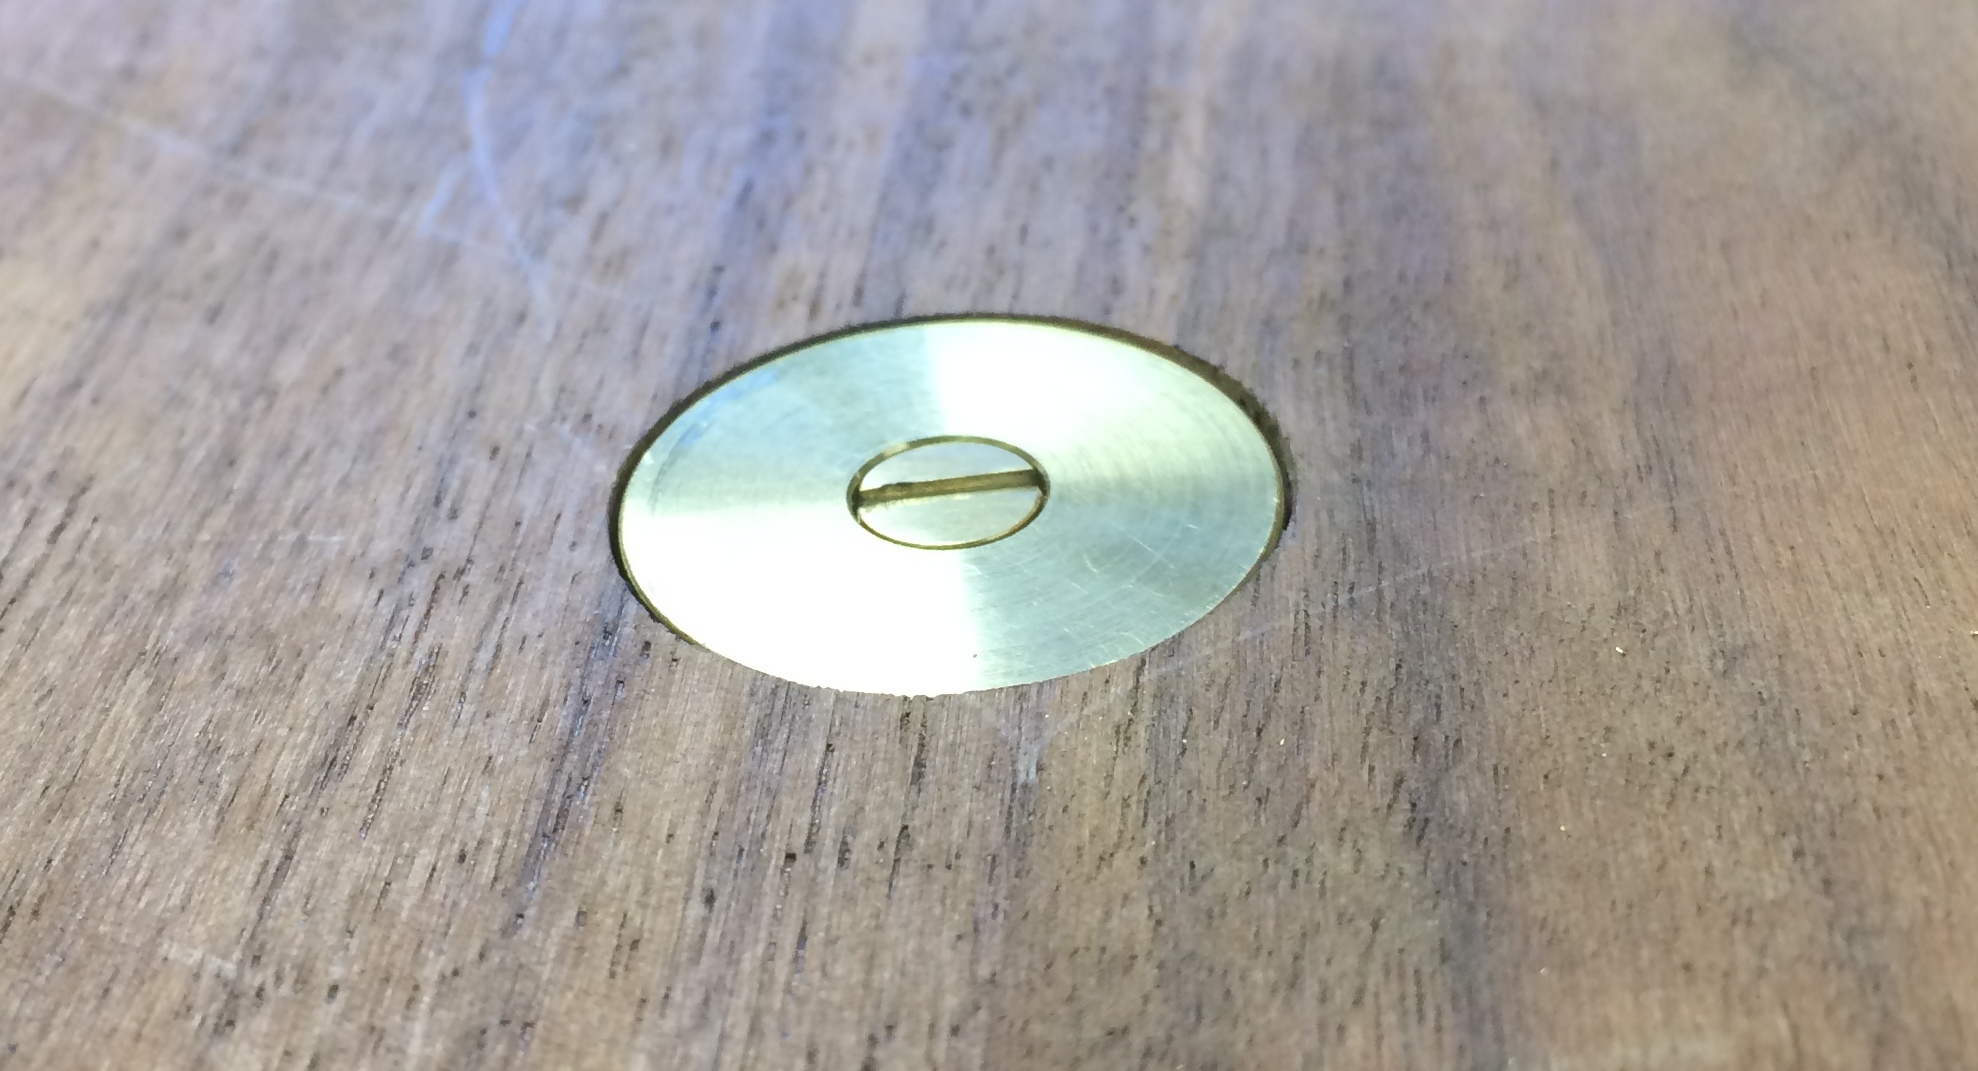
The feet had to go through the wood base and still support the wood base and clock.
Collars were mounted to the brass base for the feet and “T”nuts were used to attach the wood base to the brass base.