
 My last post on the Ball Clock was about creating the spiral to lift the balls.
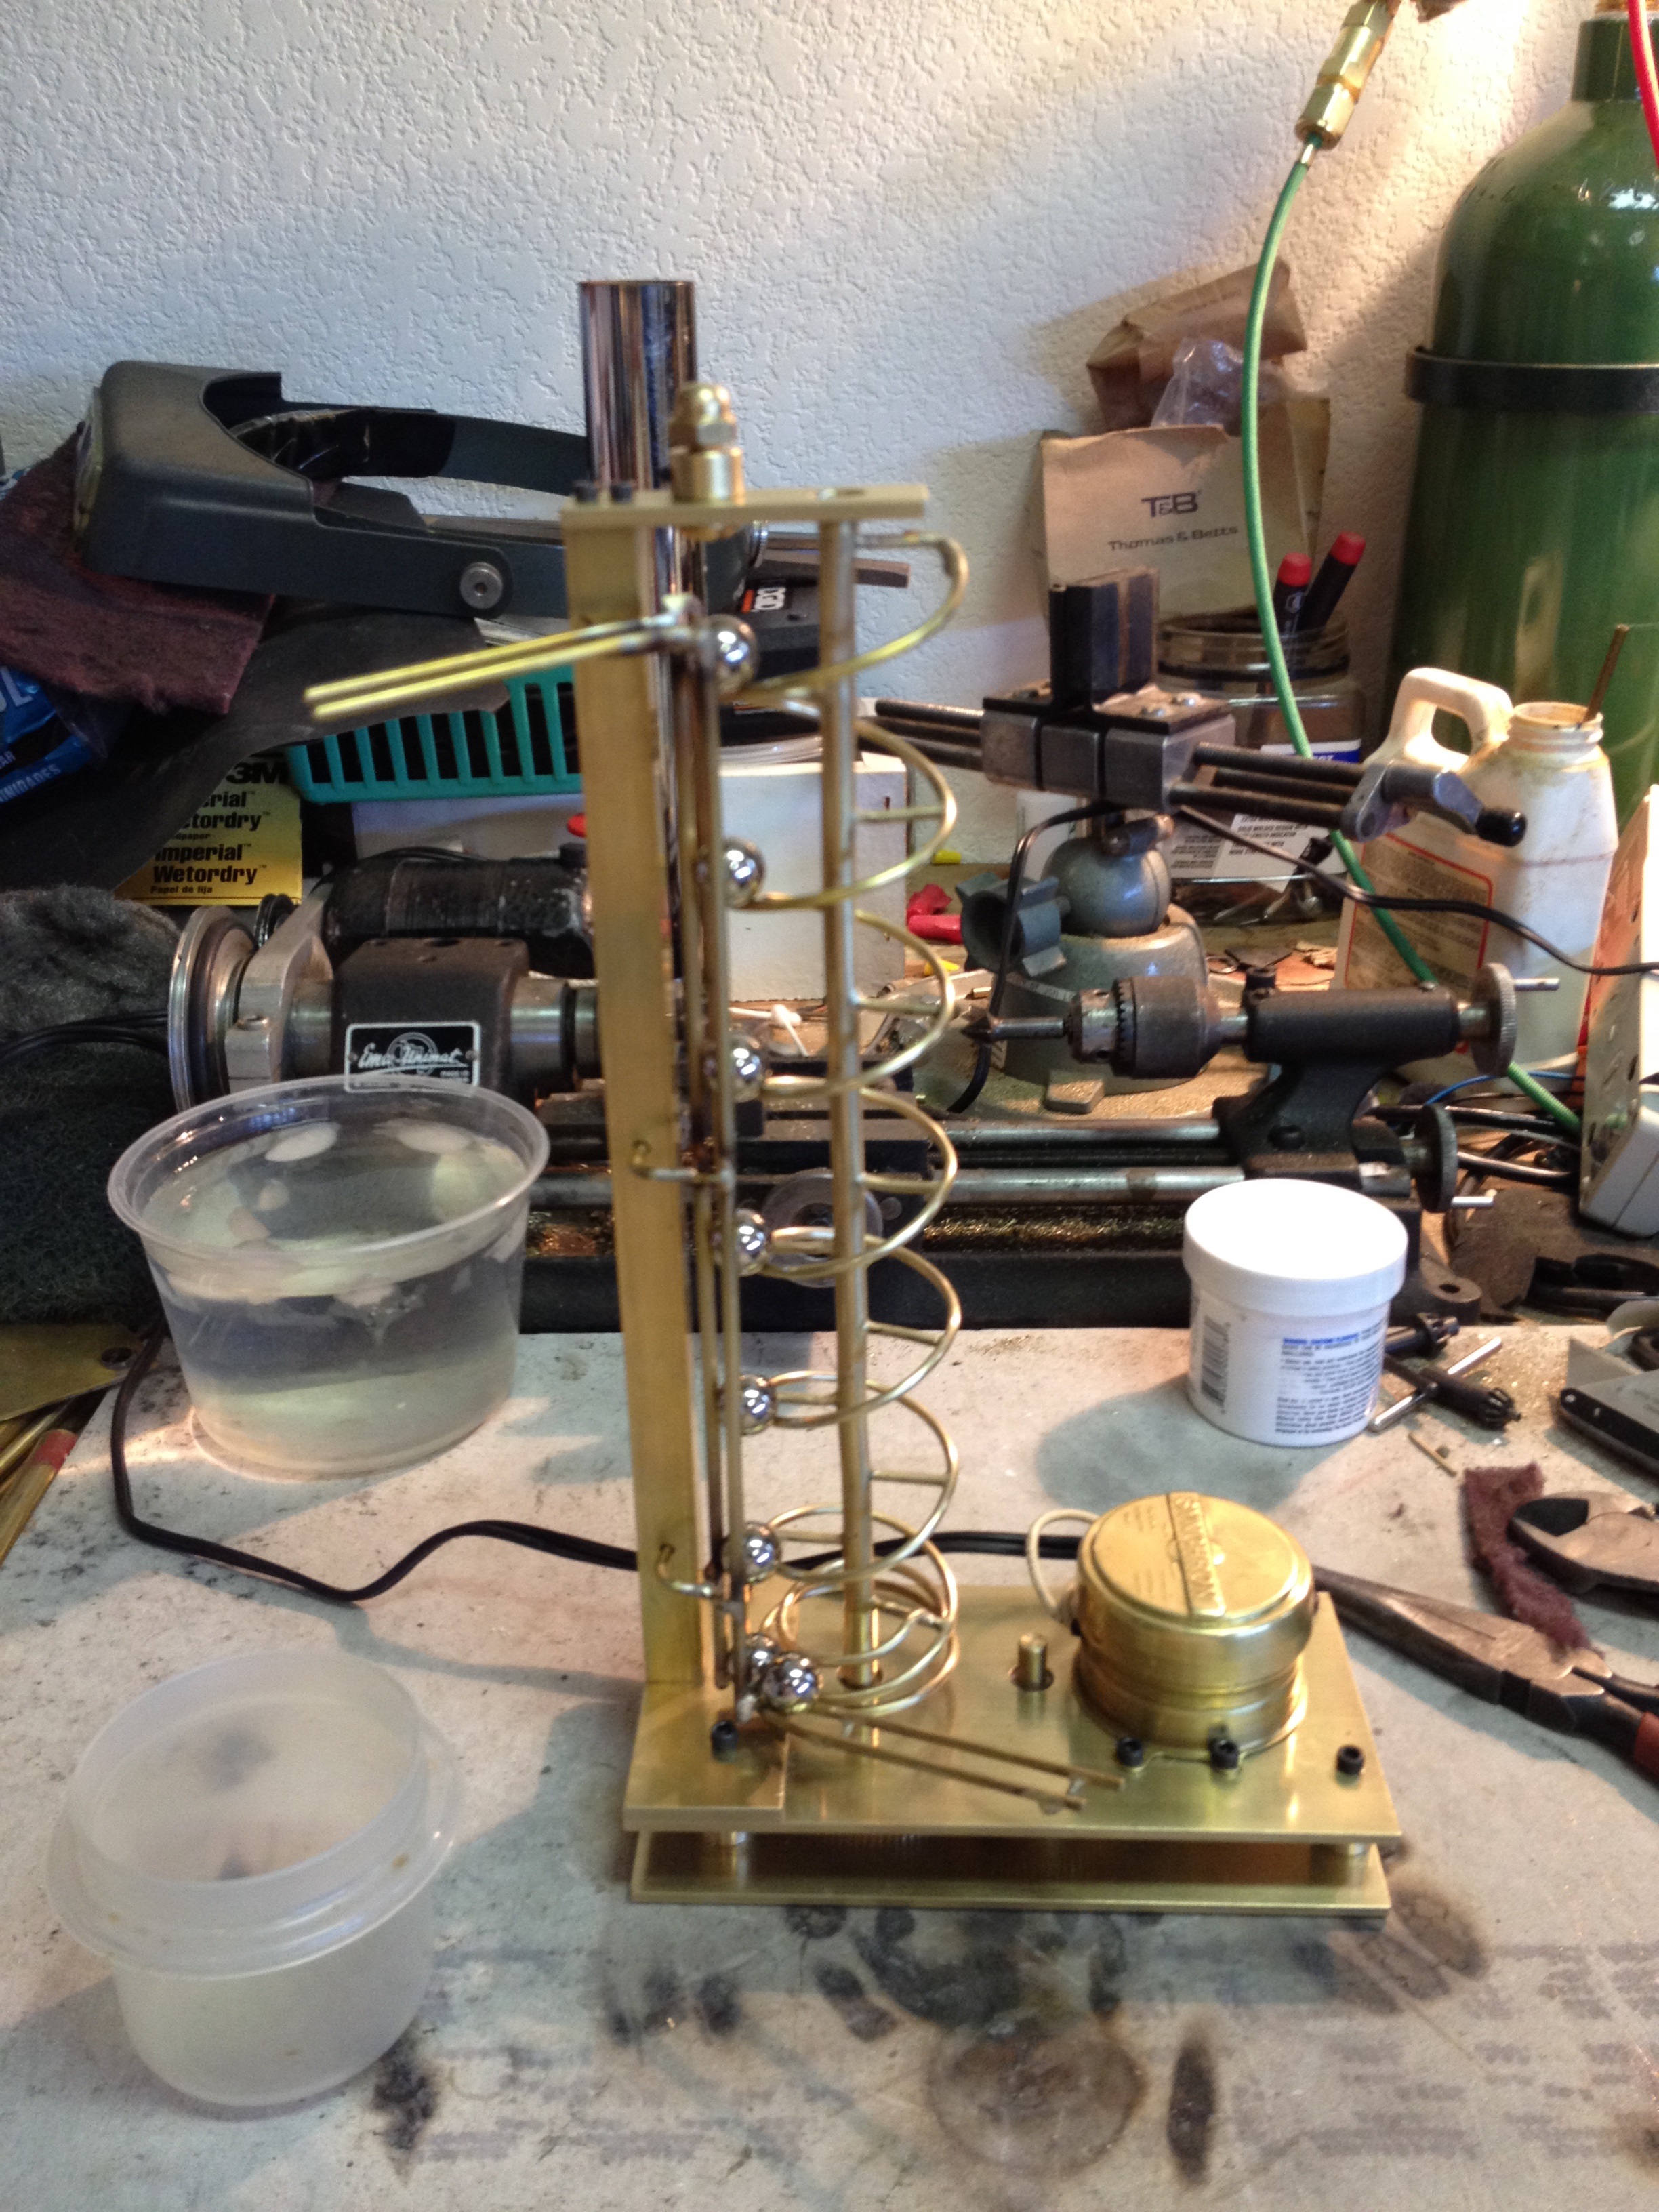
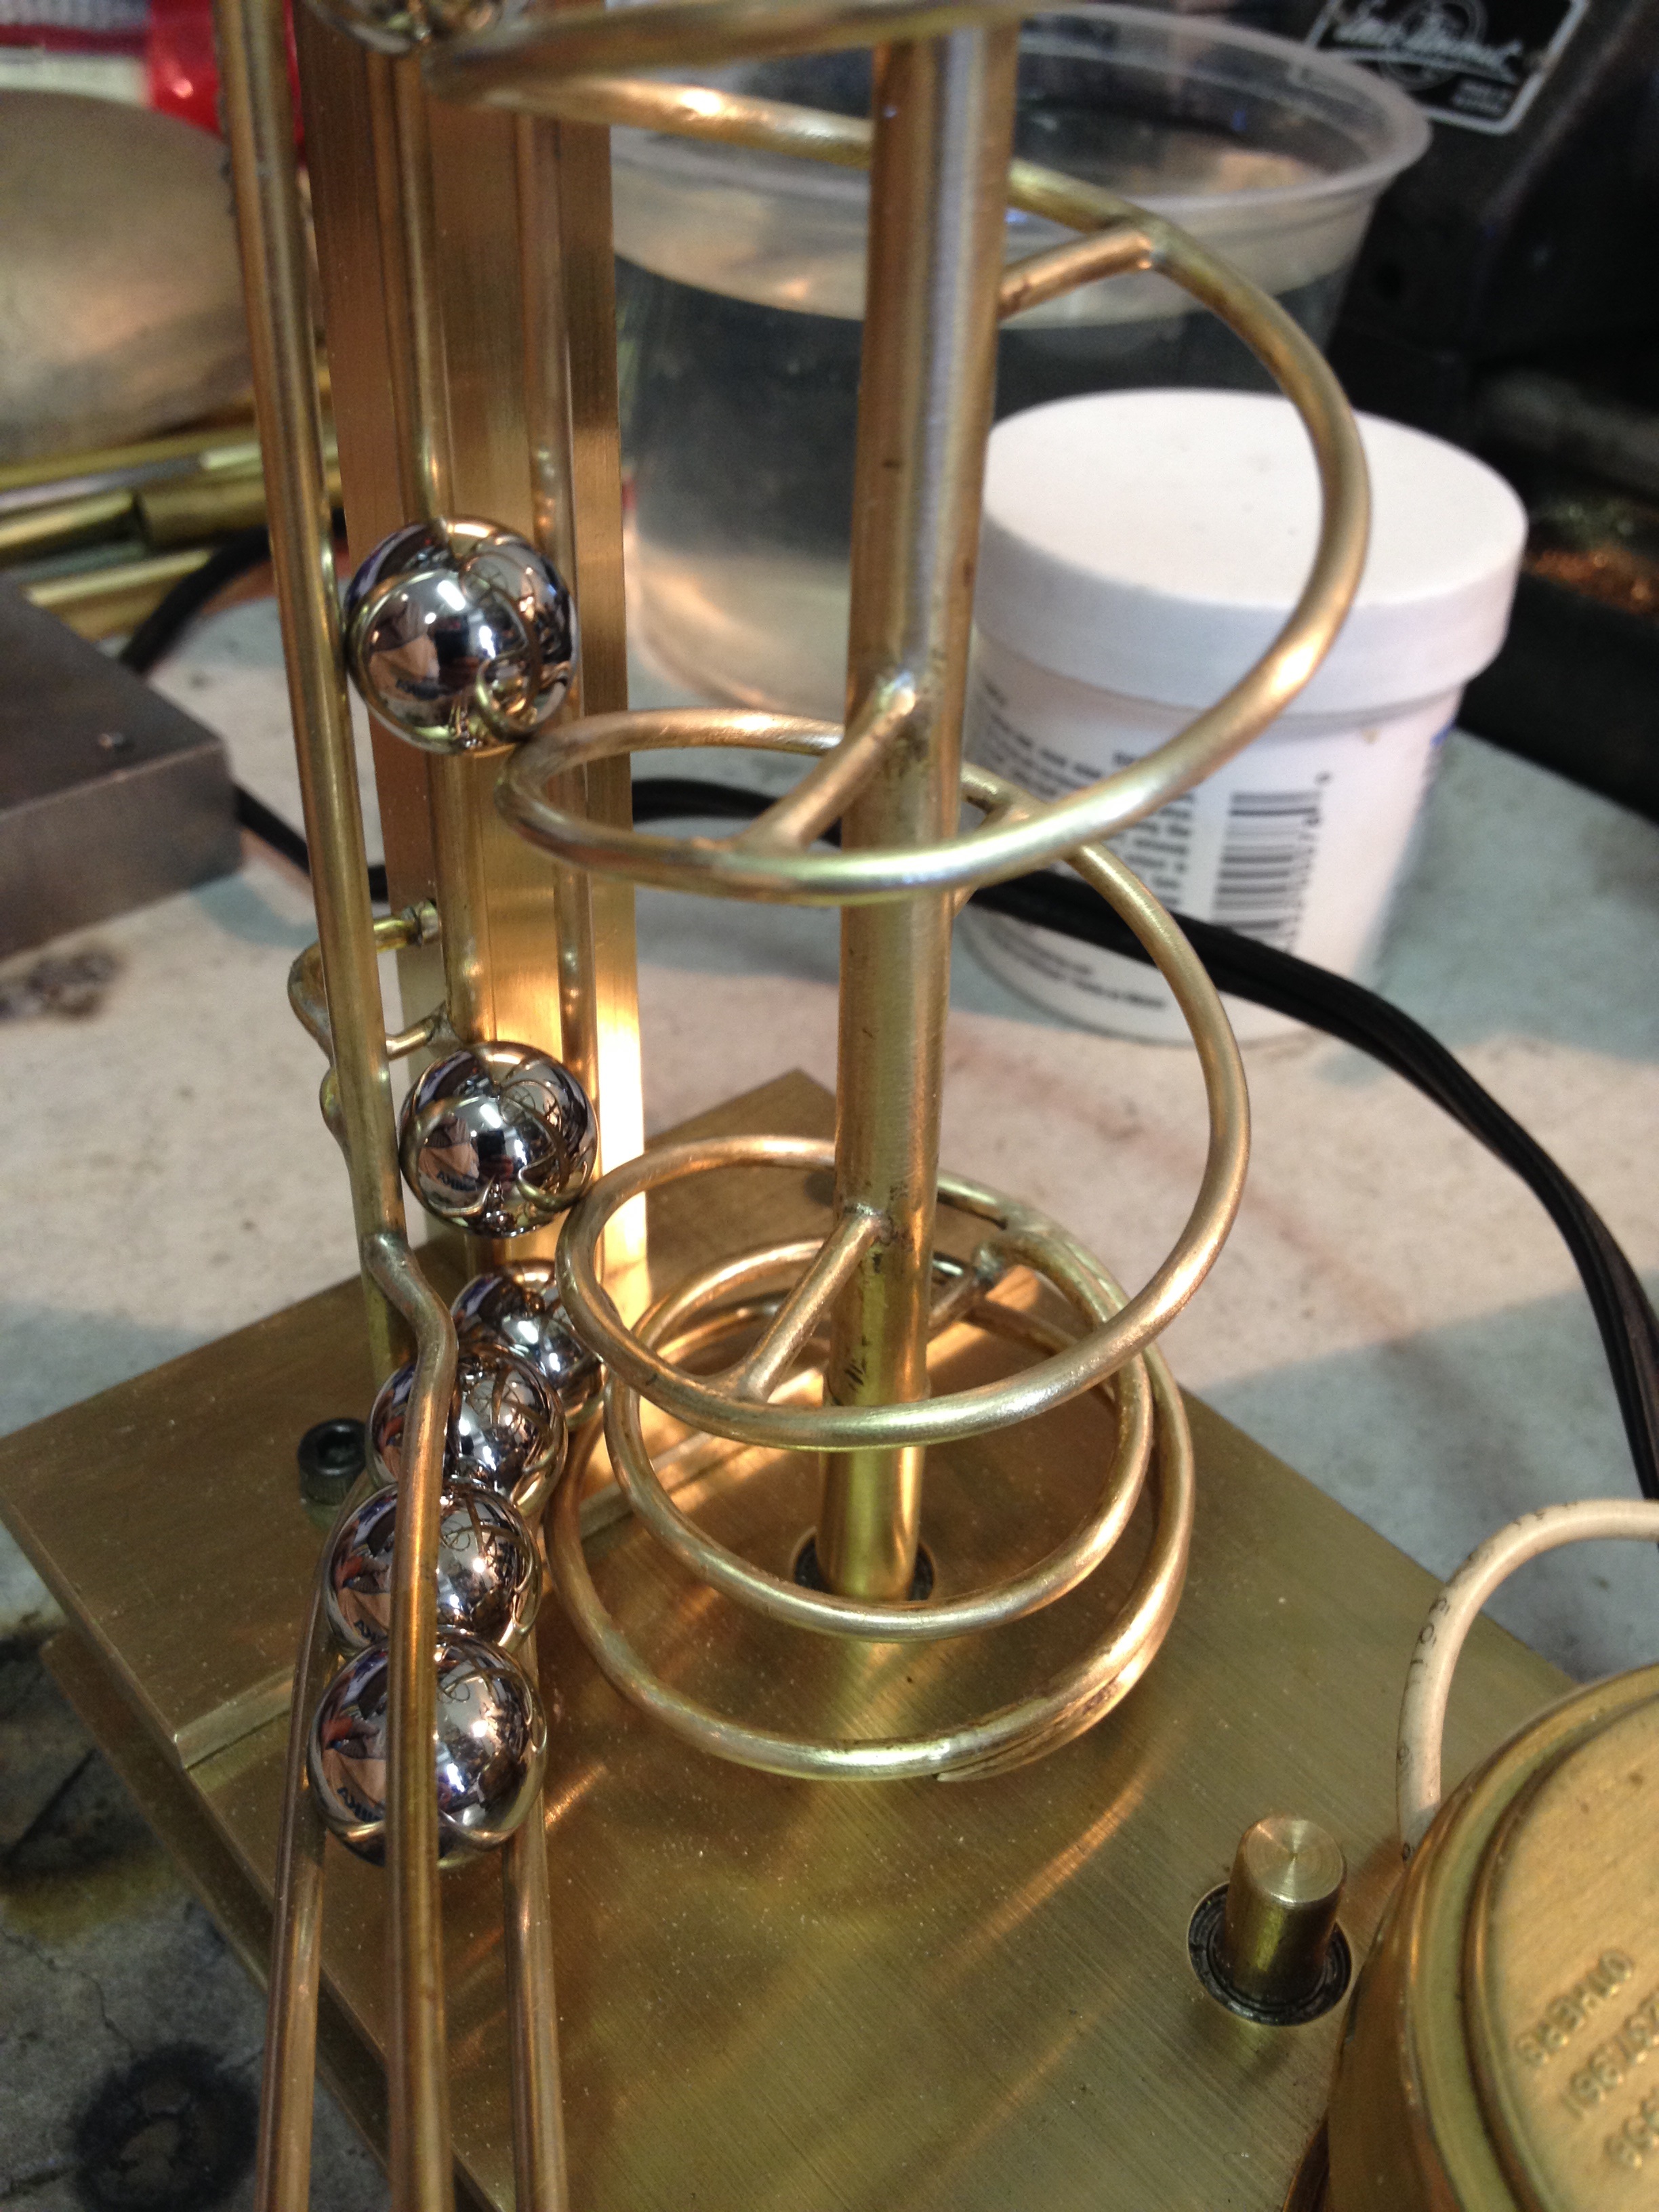
The spiral works with a rail to hold the balls while moving up. The hardest part was getting the transition into the lift so that things operated smoothly. It is pretty easy when there is only a few balls in the feed, but when the number increases, so does the resistance that allow the balls flow into the transition.
This is the first time I have made something like this and so the learning curve was arduous.
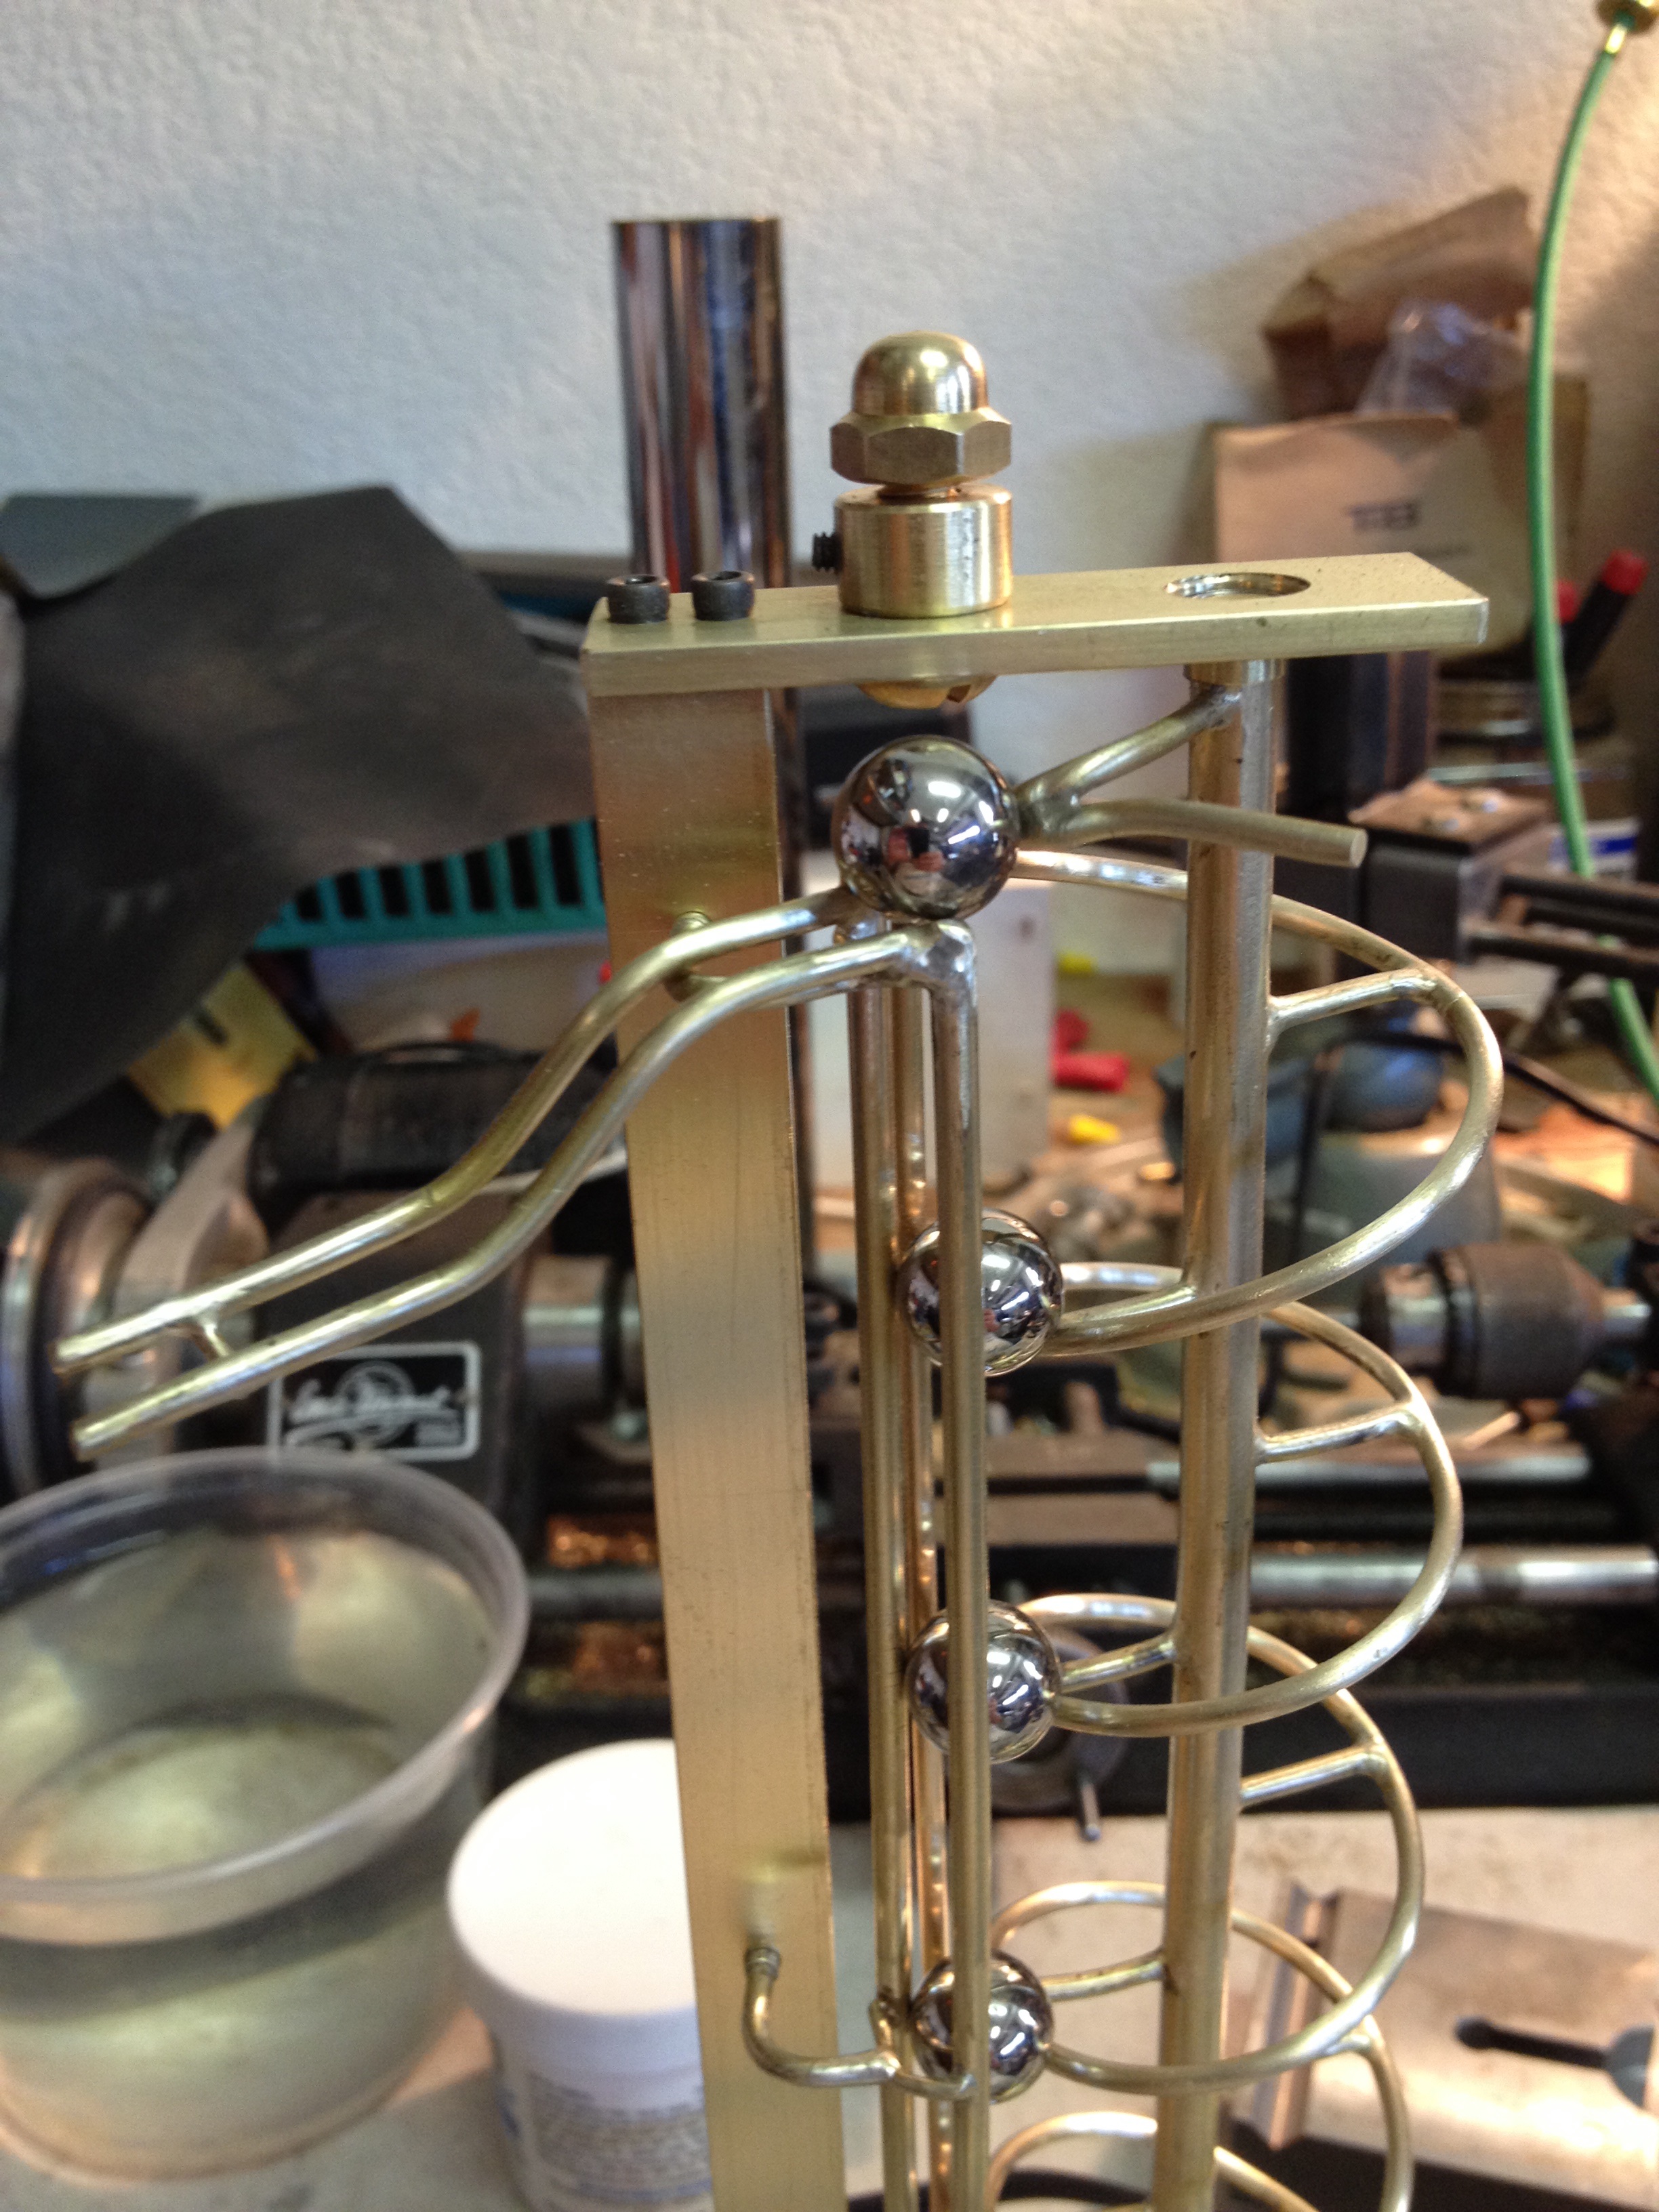
One of the criteria for this project was that it had to be serviceable and therefore easily taken apart. I would like it to endure beyond my time. So the vertical rail is removable with three set screws in the square vertical shaft that supports the upper bearing and spiral.
On my other ball clock I used the balls from the minute dump to supply the striking mechanism for the hour. It became apparent rather quickly that I would not have enough vertical space in the dome to do that with this one.
The only solution was to have another rail and track for balls dedicated to the striking function of the clock. So, another vertical rail was added to the lift. Fortunately, I had geared the motor down low enough to have the power to drive it and lift all the balls.
The balls feed into the spiral from both sides and get pushed off at the top. An extension was added to the top of the spiral which increased the radius and pushed the balls over the edge. There is about a 10 second delay between the release of the balls at the top.
The balls will appear from under the bell so I had to adjust the track to allow for the drop. This drop gives the balls a little extra boost to start their journey.
It is time to make a base to build from.